A Home AiME Reader: Trials and Tribulations
Published: June 9th, 2023
One day I was browsing through Yahoo Auctions after winning a lucky auction when I found a suspiciously cheap Aime Reader. I figured since I didn't have one, it might be worth messing around with and I ended up receiving an Aime Reader with the housing for about $30 USD. After asking around I was able to determine that this was an 837-15084 model, which was produced around 2011 for SEGA's WCCF series games. Fortunately, they haven't changed much since then and I was able to hook this up to modern games.
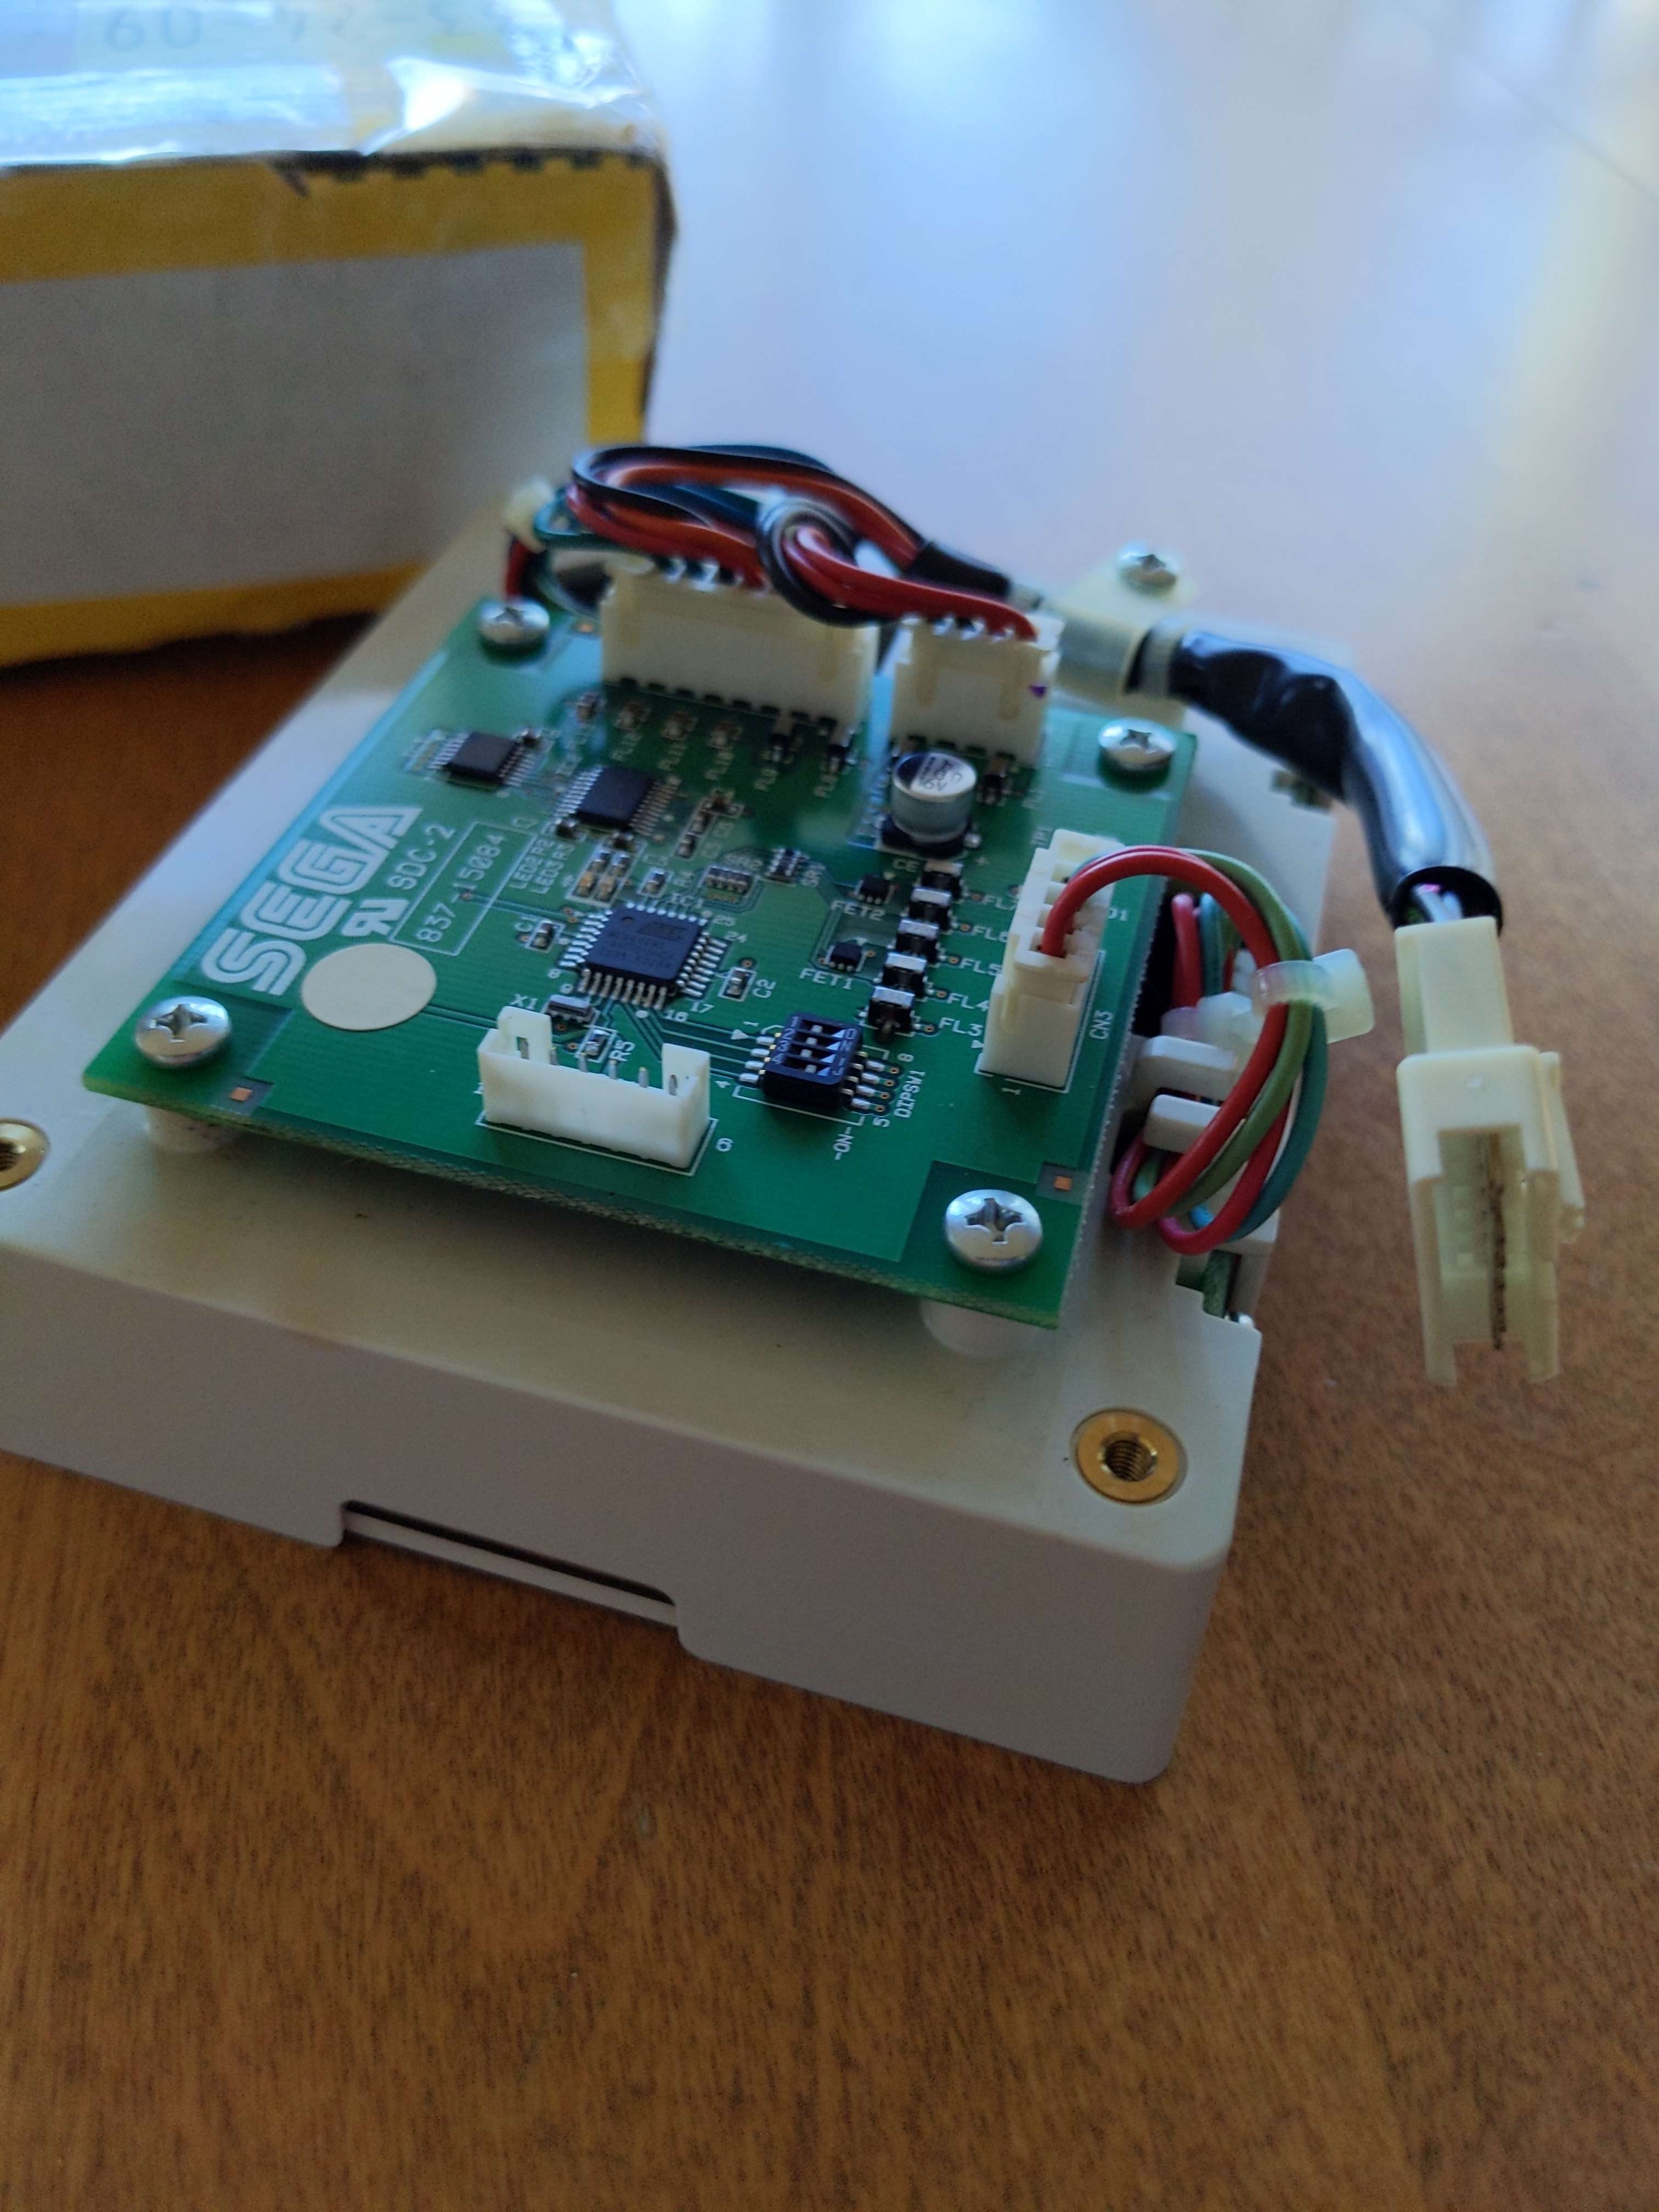
The reader came in good condition but I was suspicious of it due to its low cost. Regardless, I hooked it up anyways. The first step for getting this thing to work was power. The Aime reader doesn't communicate with a PC motherboard directly, but instead connects to a separate io board which then plugs into the PC.
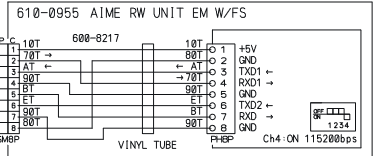
As we can see in the schematics, there are 8 different pins that we can work with. However I don't actually know what 5-8 do, so we'll only be using the first 4 pins: +5V (Power), GND (Ground), TXD1 (Input), and RXD1 (Output).
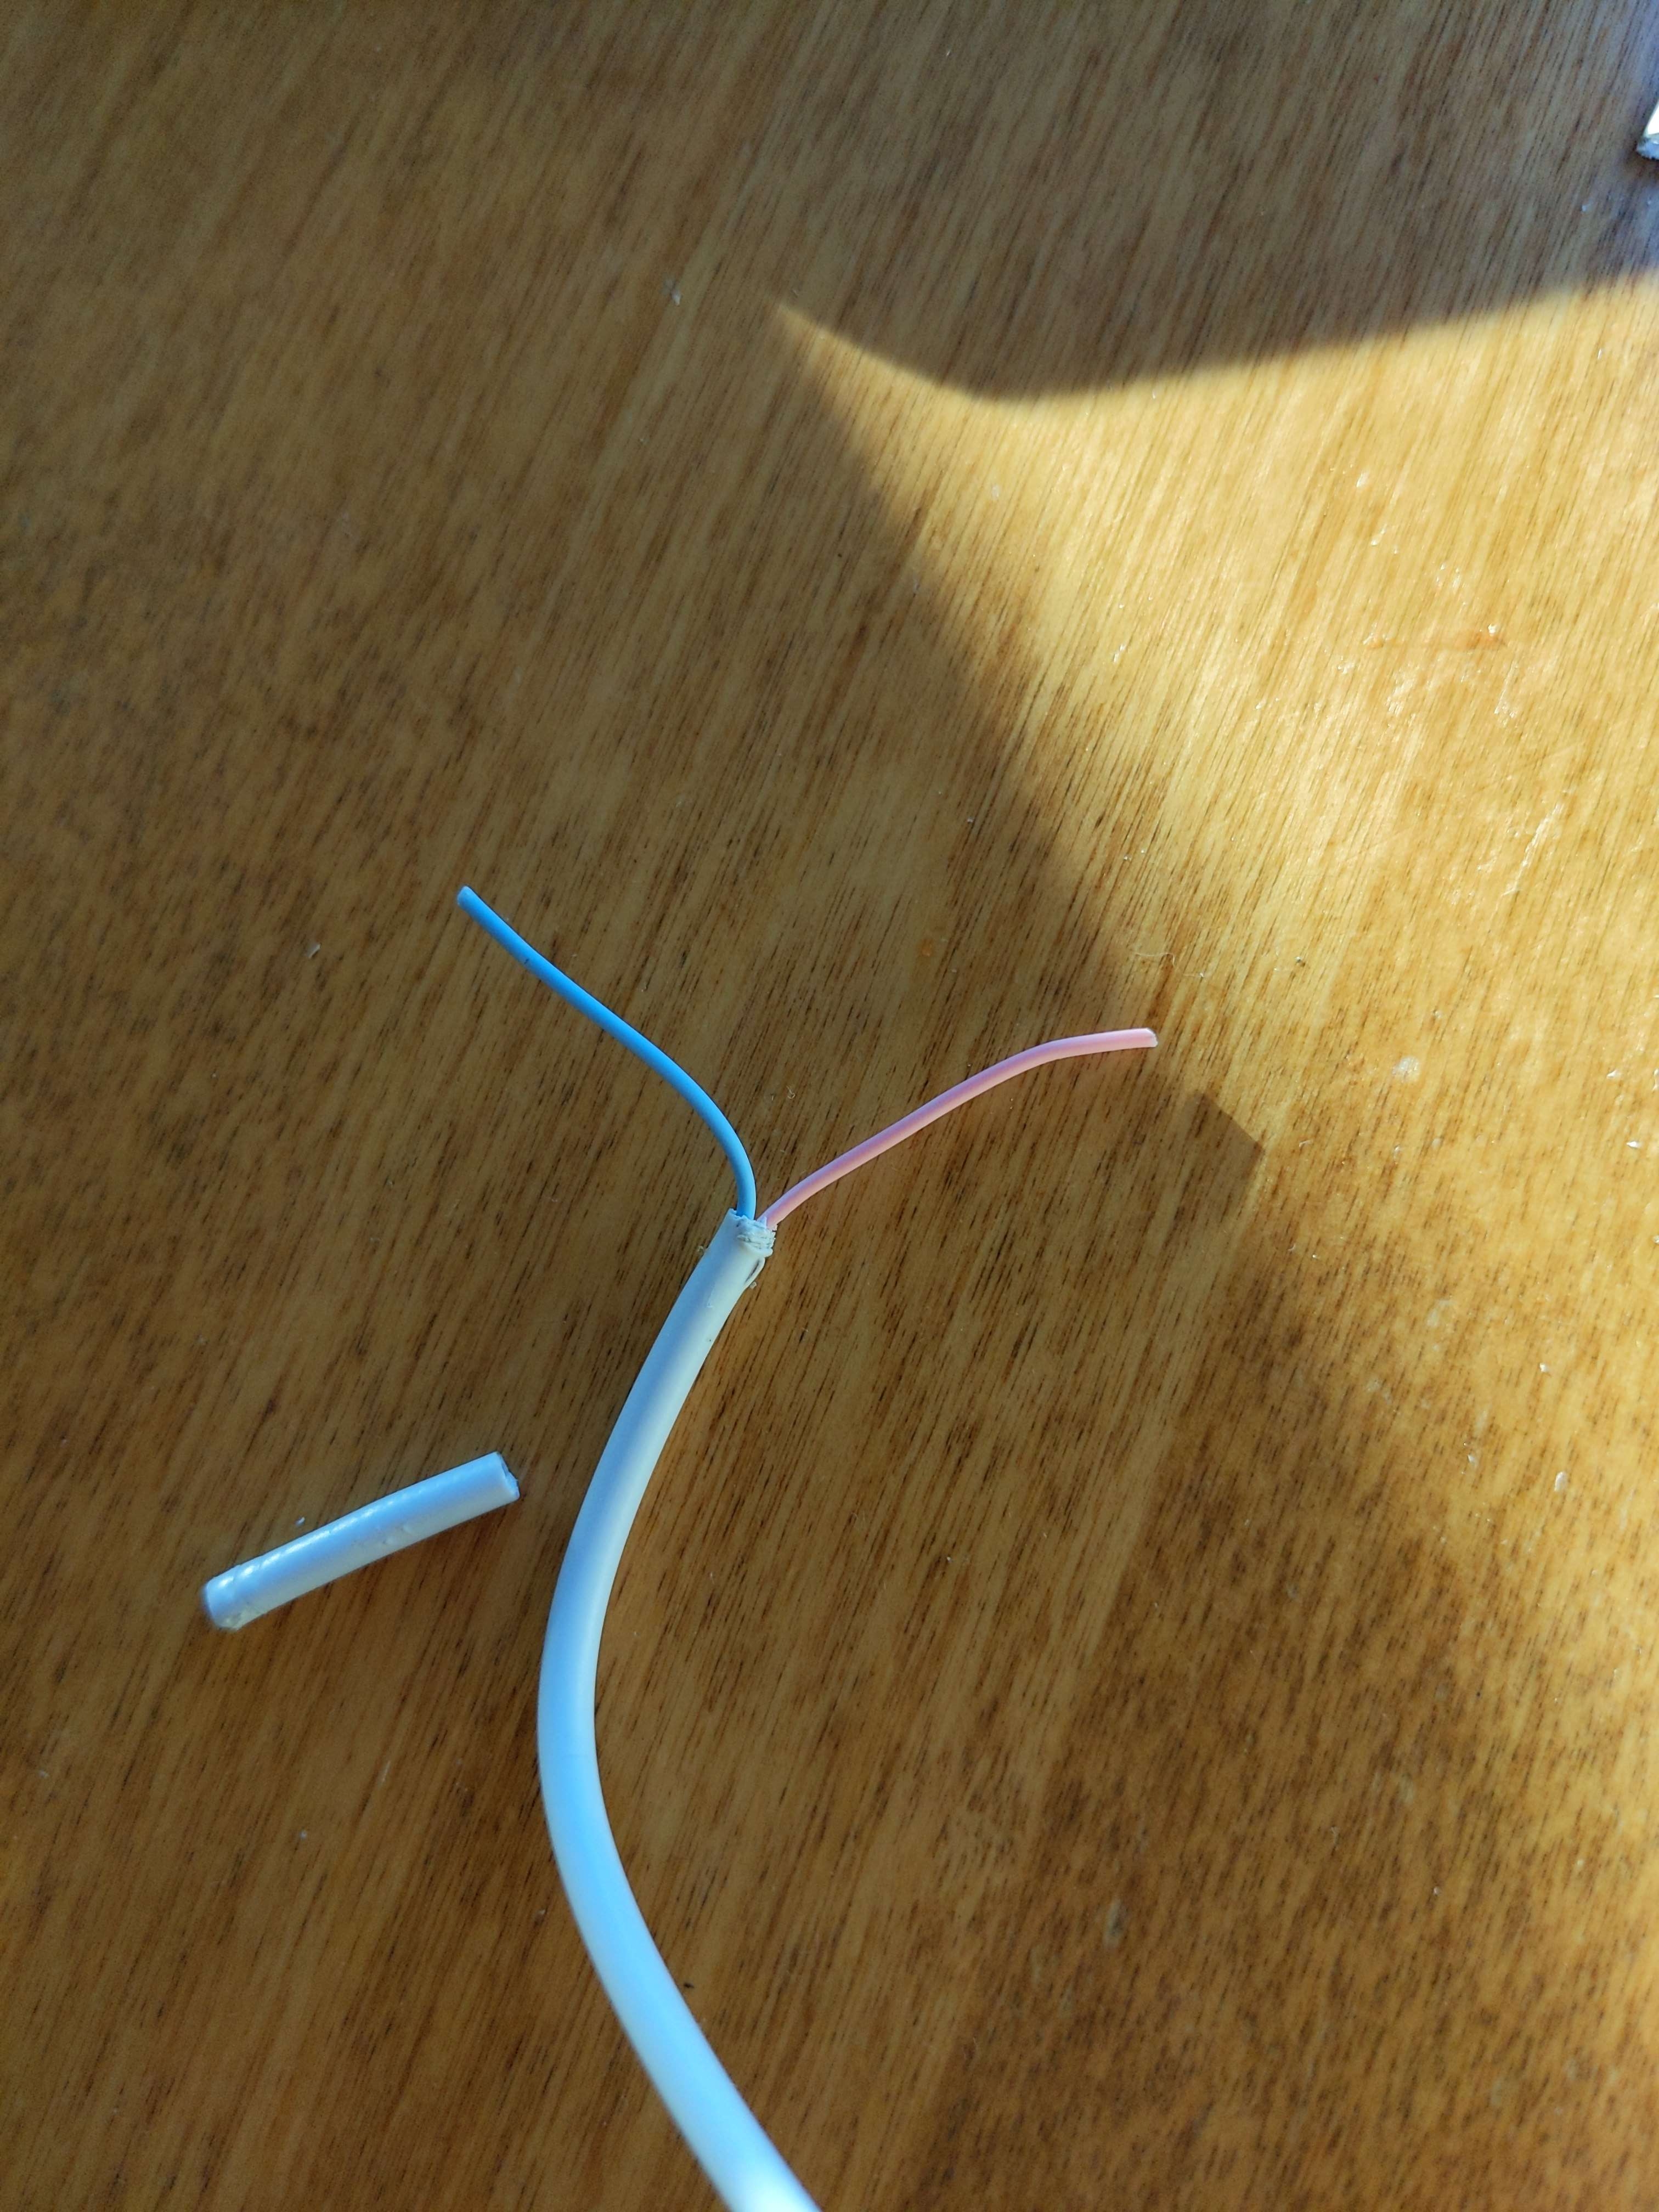
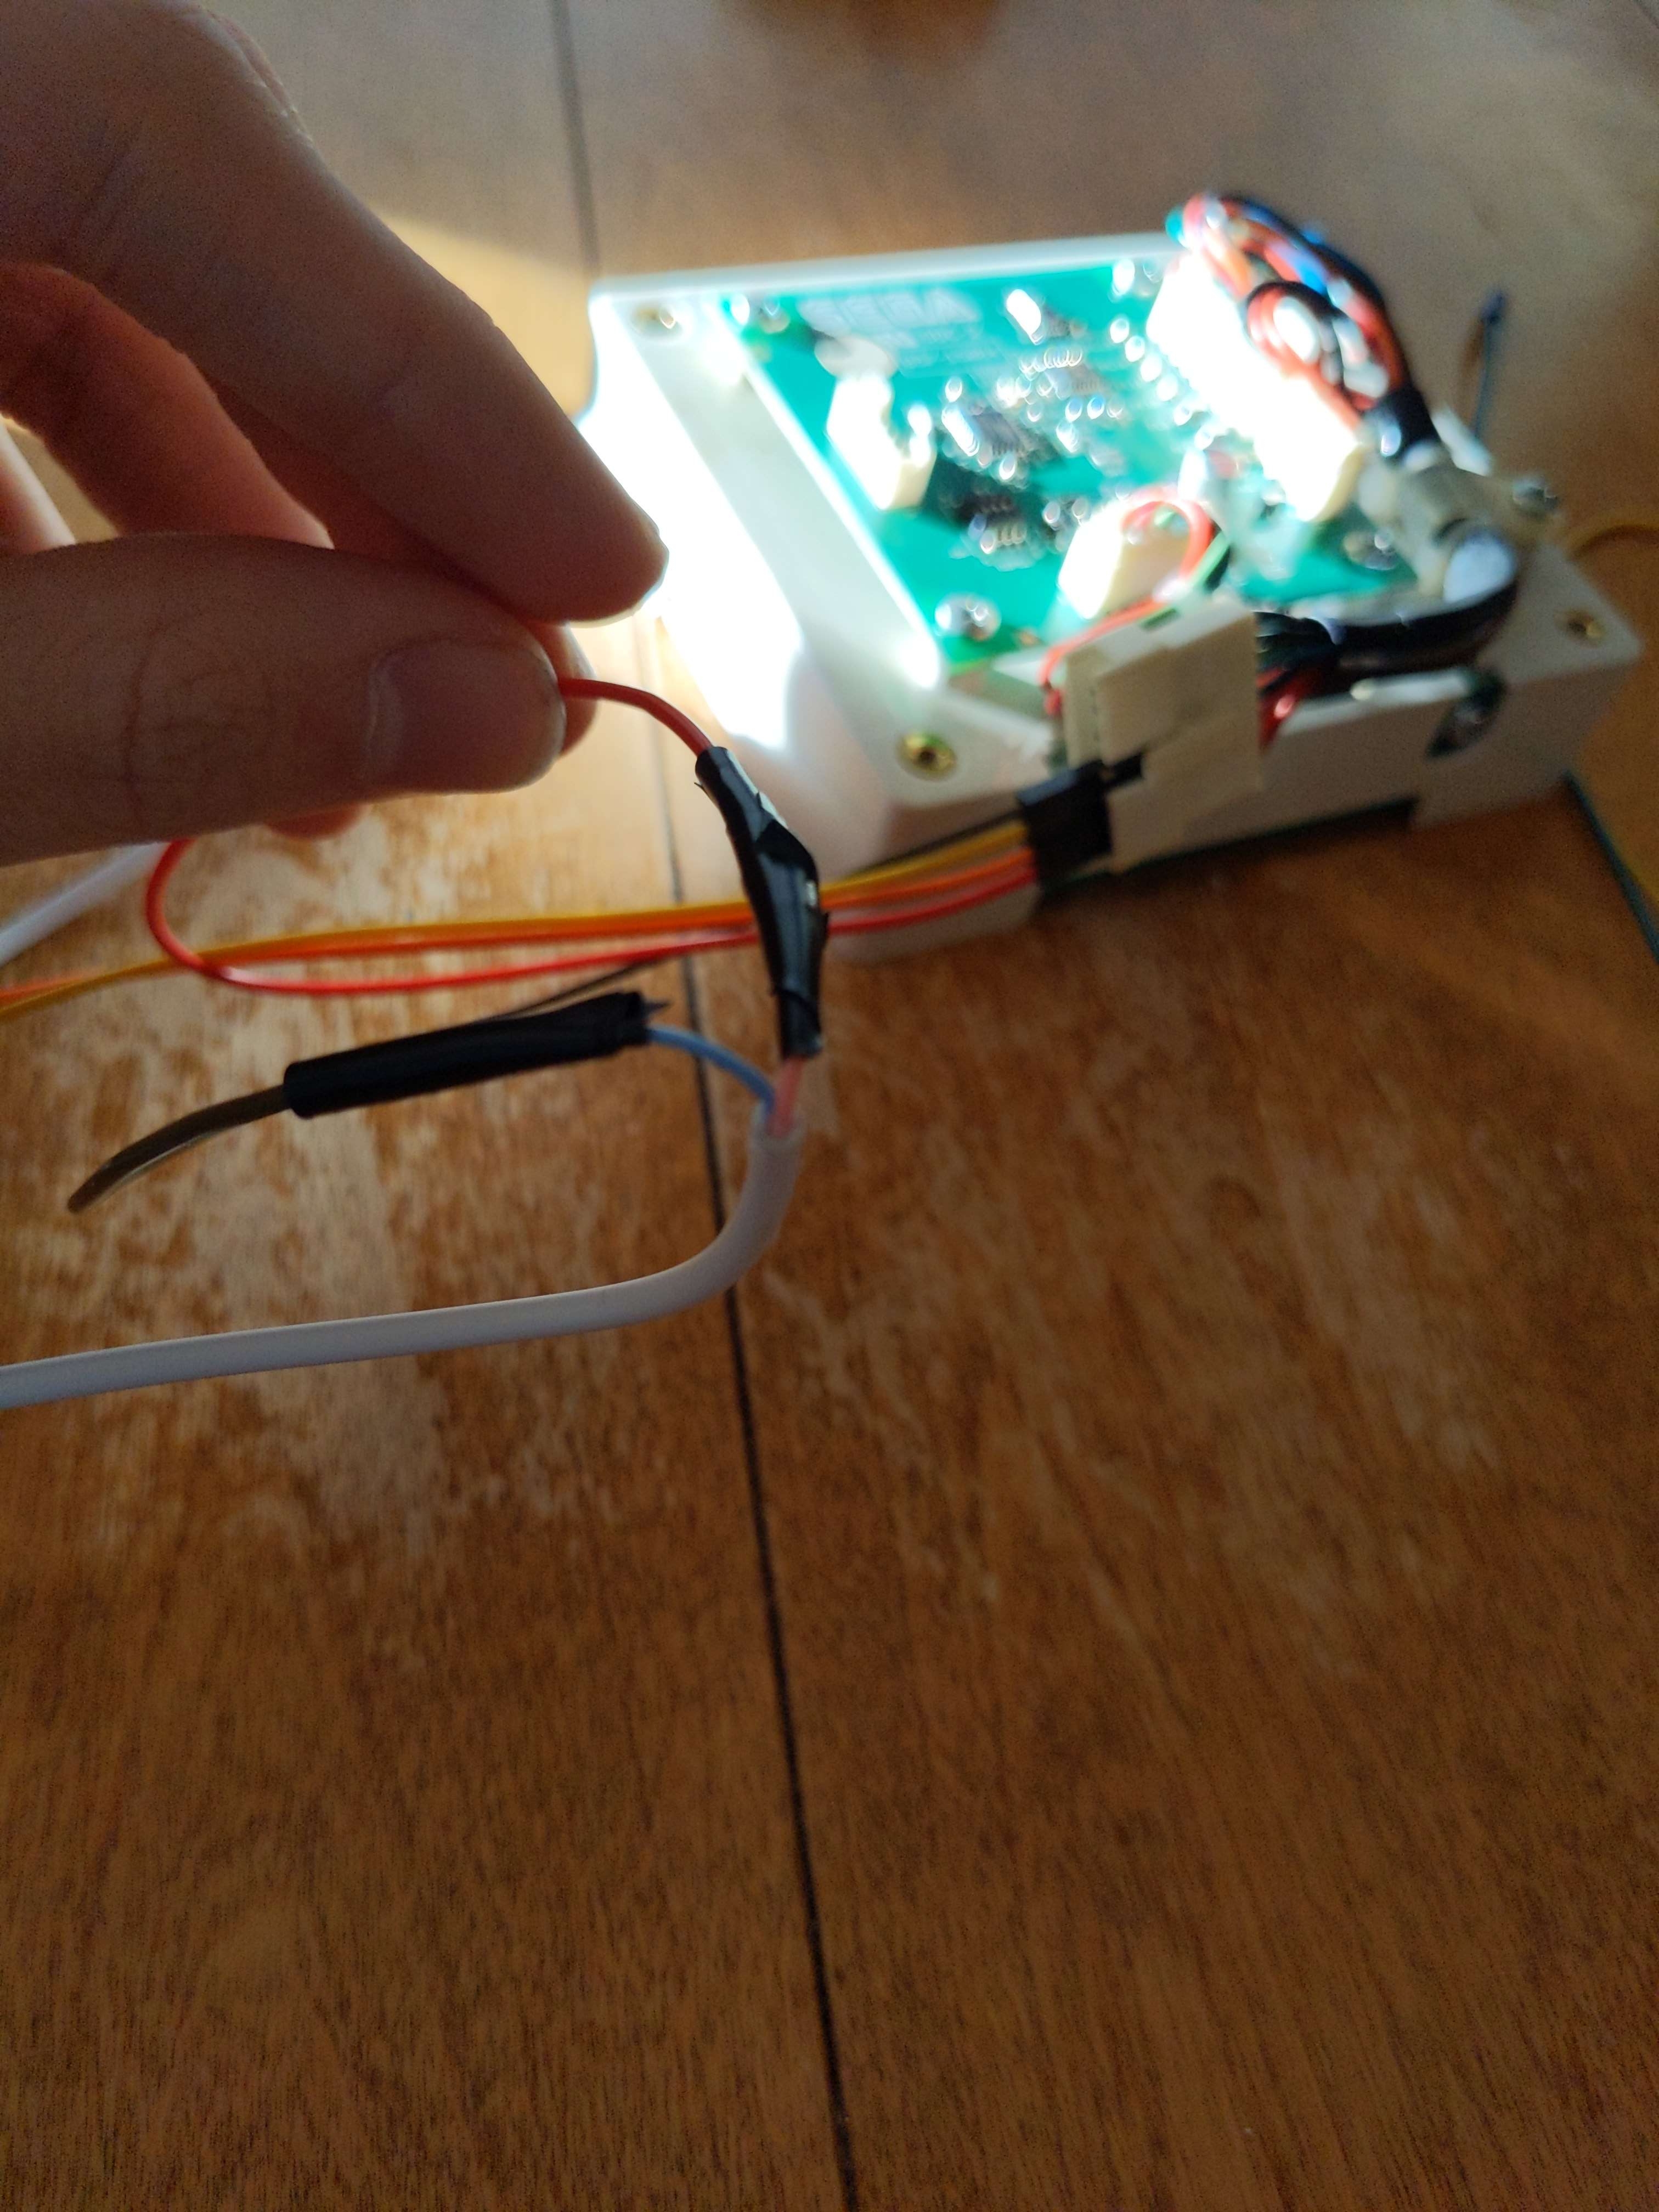
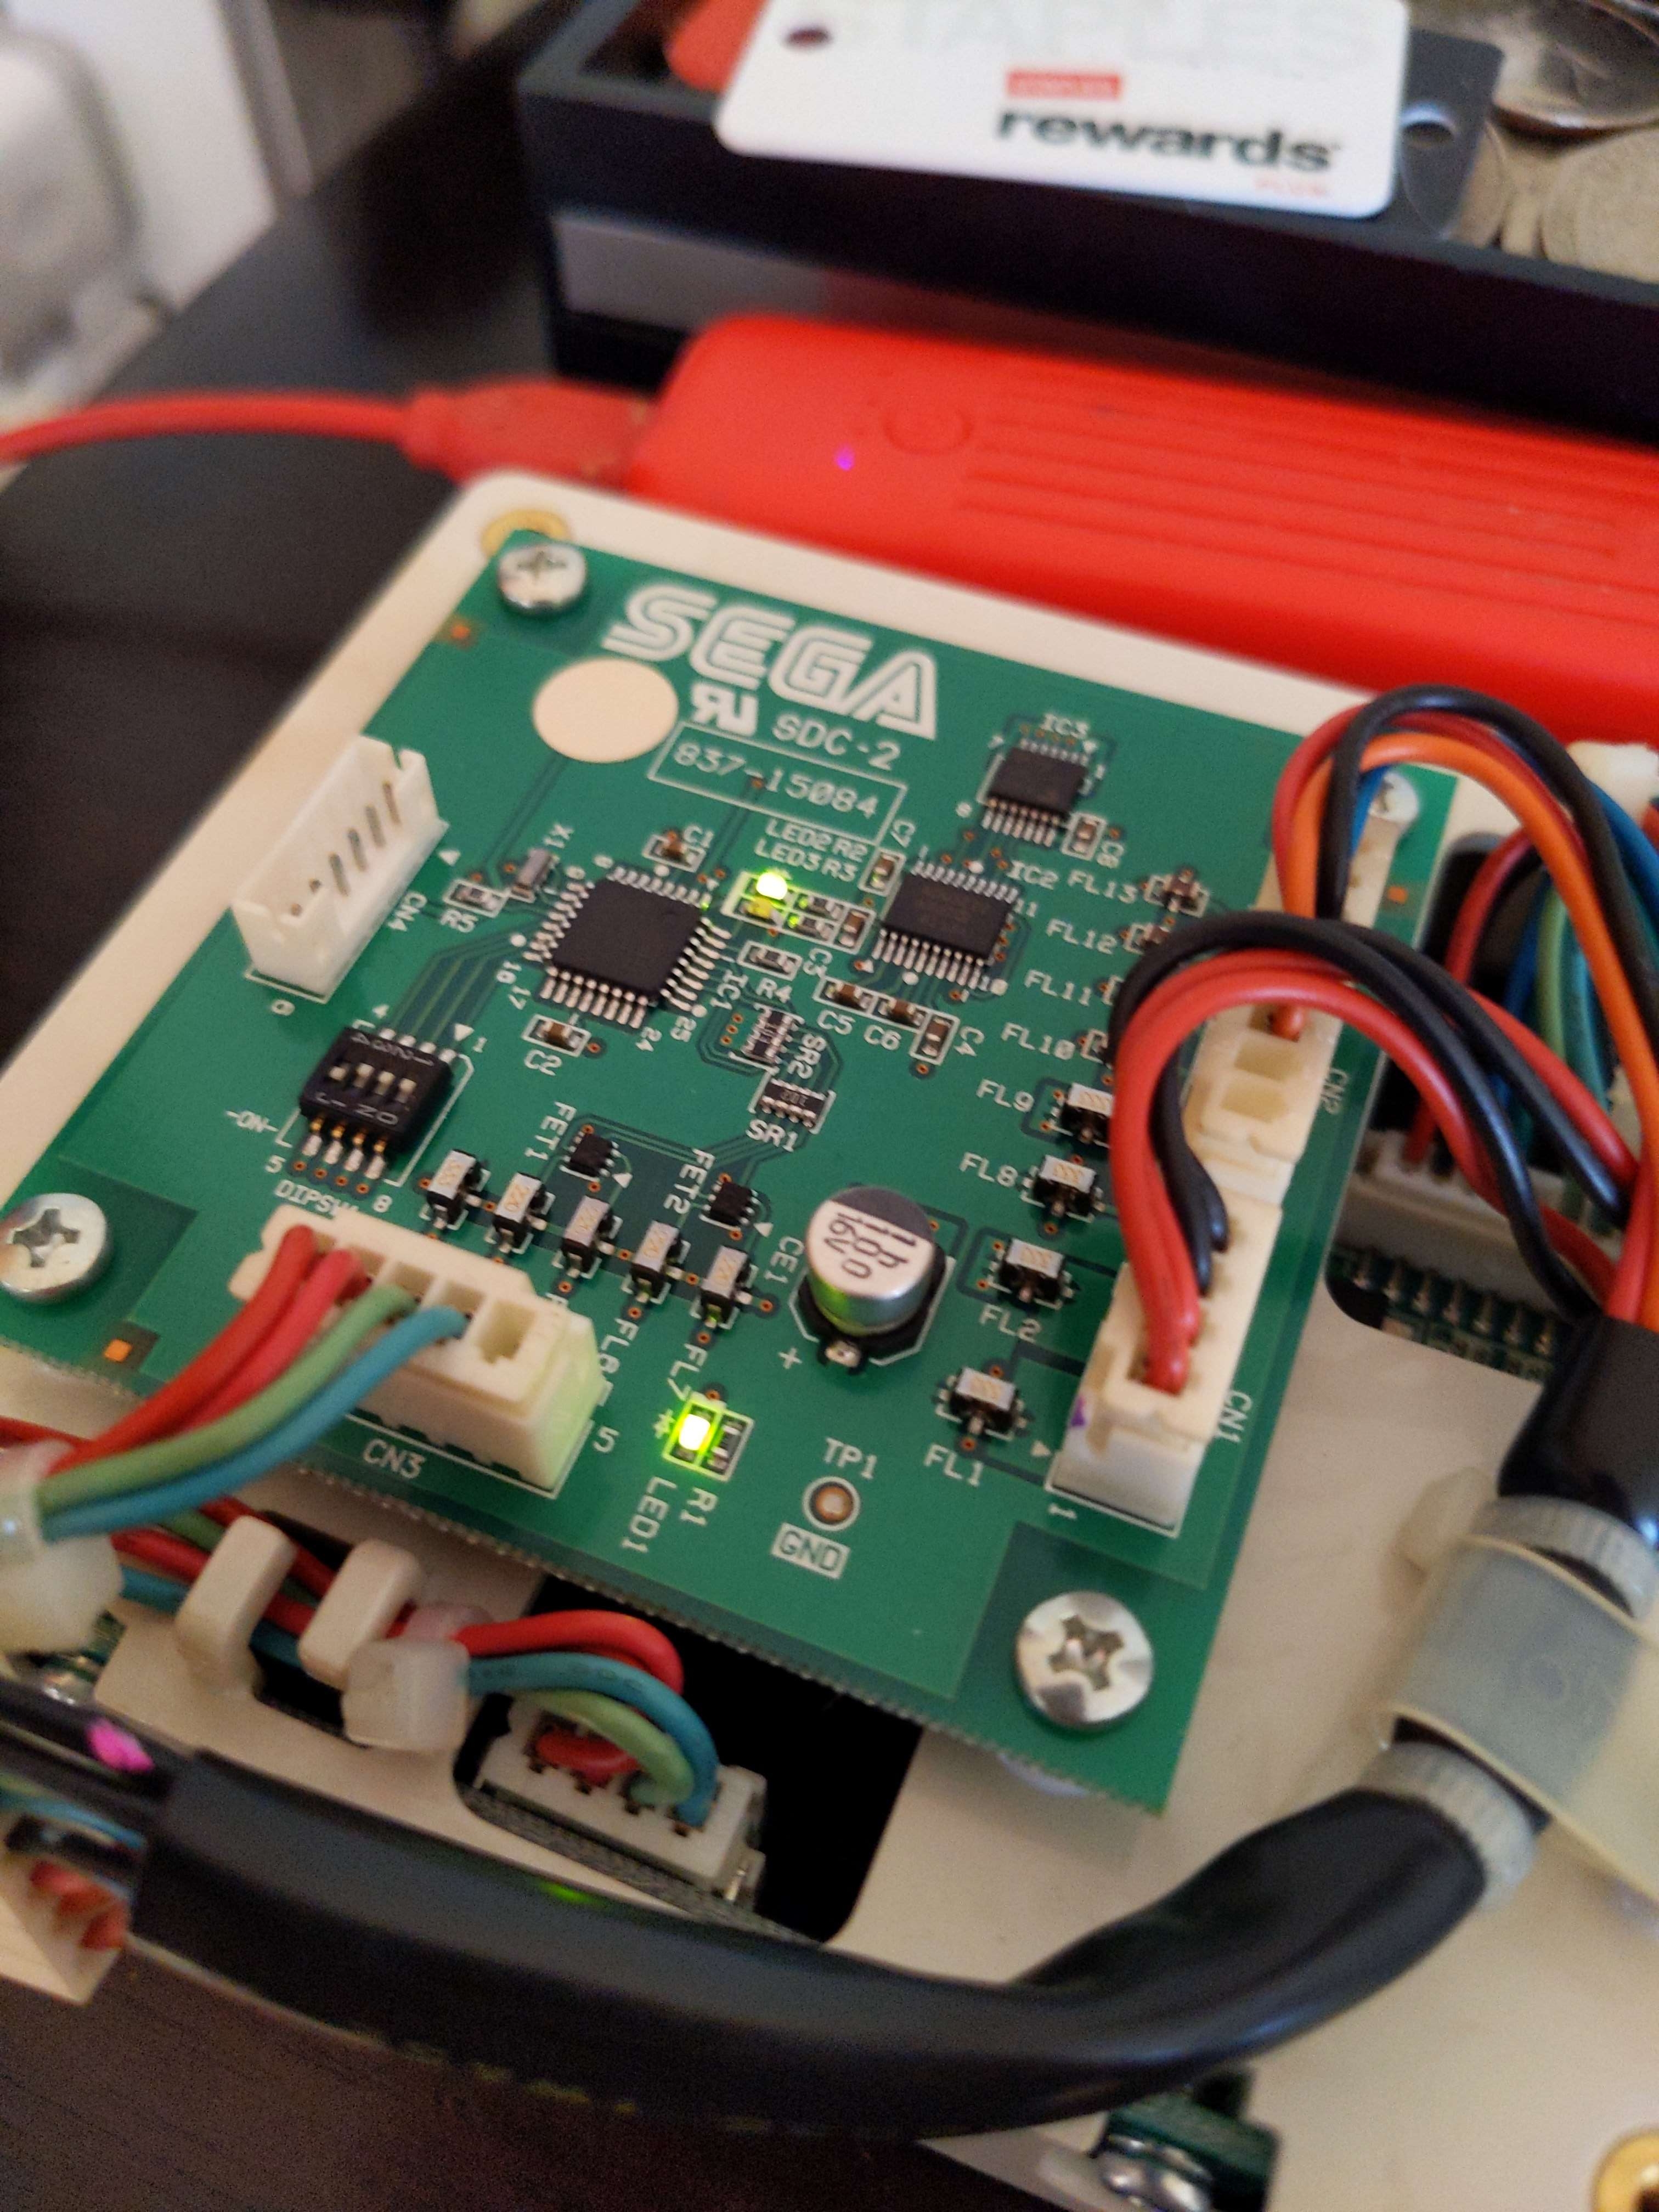
To get power to the reader, I cut up an old USB charging cable and separated it into its two wires: the power and the ground. These directly correspond to the ones located on the aime reader port, and can be nicely connected with some rainbow jumper wires. After plugging in the frankenstein'd cable to the wall, not only did I live to tell the tale, but both green lights on the reader turned on, meaning it was successfully receiving power!
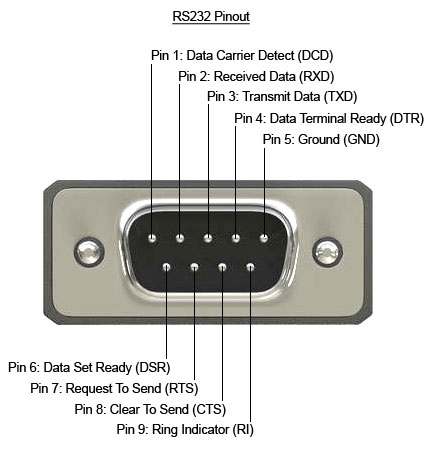
The next (and much more frustrating step) was to transmit data between the reader and the PC. For this I needed a separate cable called an RS232 serial adapter. Above is a picture of the pins on it, but all we need to use is pins 2 & 3, Recieved Data (RXD) and Transmit Data (TXD). These will connect to the TXD1 and RXD1 pins on the aime reader respectively. I've never tested any other cables, but I would try to find one that has the PL2303 Prolific Chipset as I'm not sure if its needed or not. I personally used the UGREEN USB to RS232 Adapter with no issues.
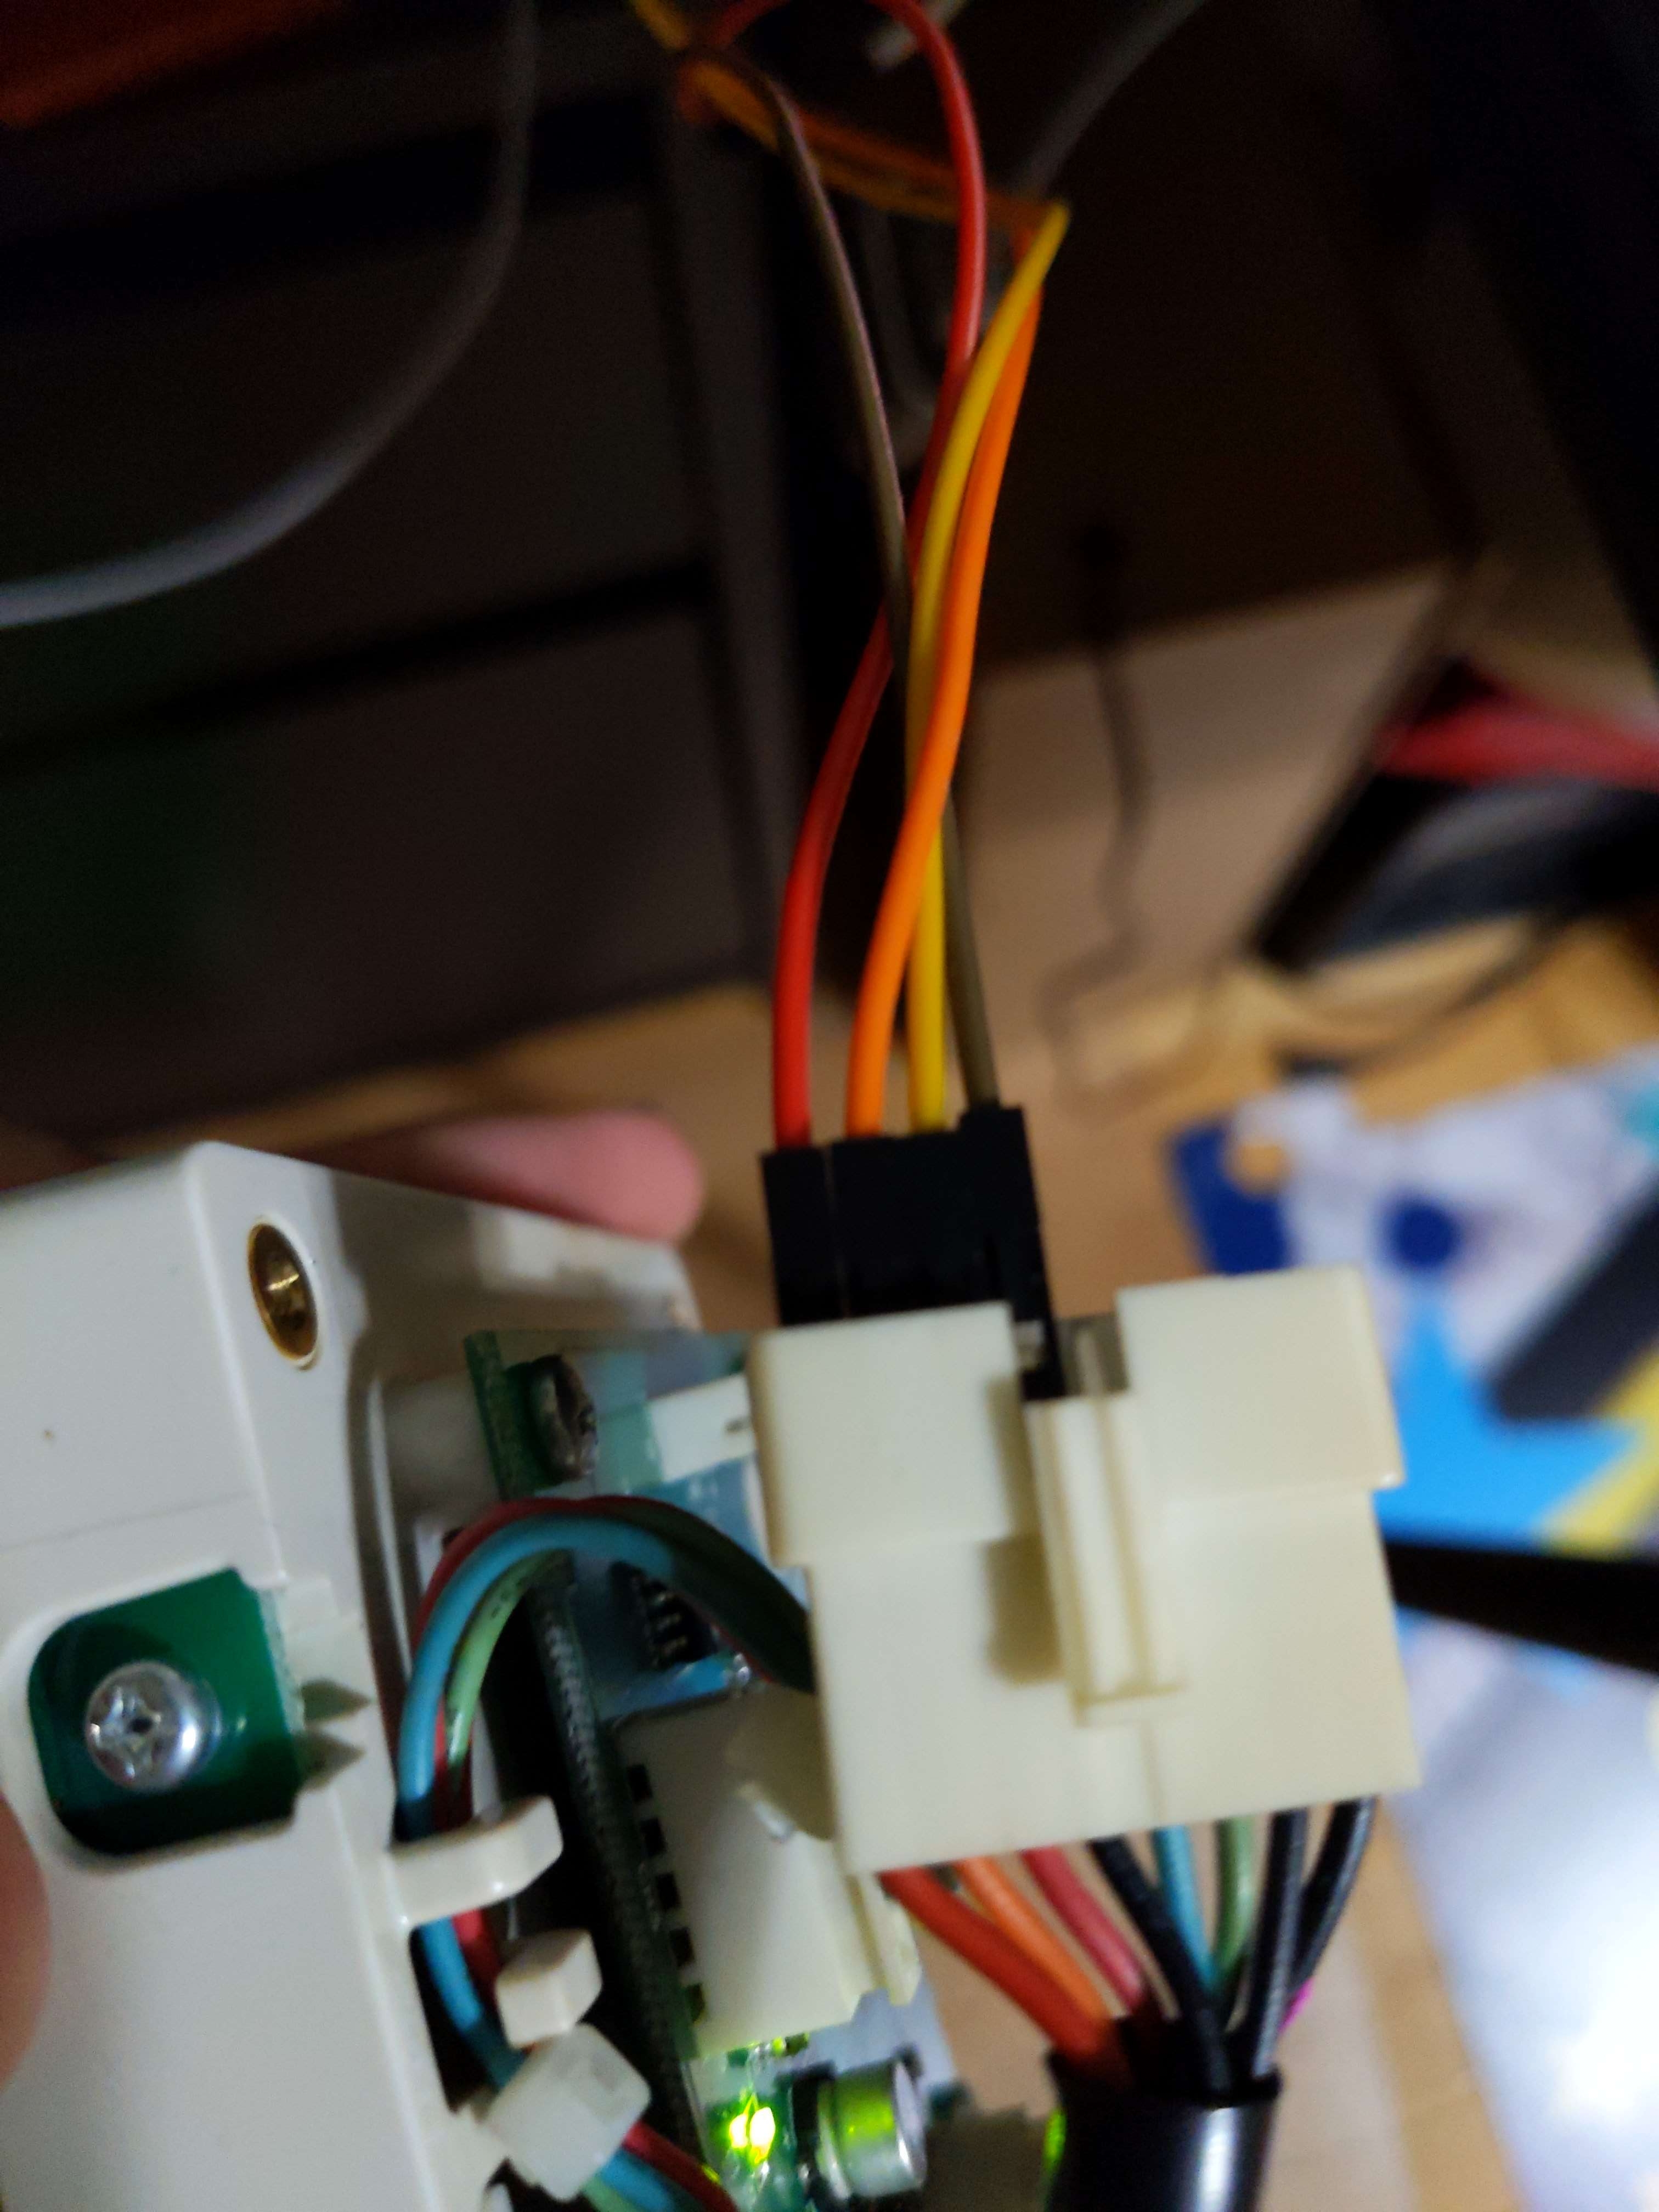
Once I was certain that the cables were hooked up properly, I mounted it to my current setup and begun the software testing. This part took A LOT of trial and error.
The reader wasn't working 100% over a couple of hours, hell even a couple days. It was only after about a month and a half before I finally got everything working as intended.
The game I used to test the reader was CHUNITHM AMAZON. I picked an older version of a Nu game as it was the most convinient game for me to test with, but also had most of the
old firmware that might work out of the box. I also copied over some even older firmware from some RingEdge games. However after some testing, TN32MSEC003S_V12.hex
is the file that interfaces the game with the reader. Chunithm automatically started updating the reader upon launch, which was a good sign. However, it was still a little
glitchy even after the firmware update.

A good friend happened to have written a script for checking these readers which I will provide here. It accepts the COM port as an argument and lets me check without booting up a game whether the reader is responding or not. Note that I'm only using COM13 because I messed up my other port. I strongly recommend using COM12 for your reader, as it is the default port for Nu games and can only be changed in games that run on the ALLS platform. The COM port can be changed in Device Manager, under Ports (COM & LPT) and in the Properties for Prolific PL230GS USB Serial COM Port.
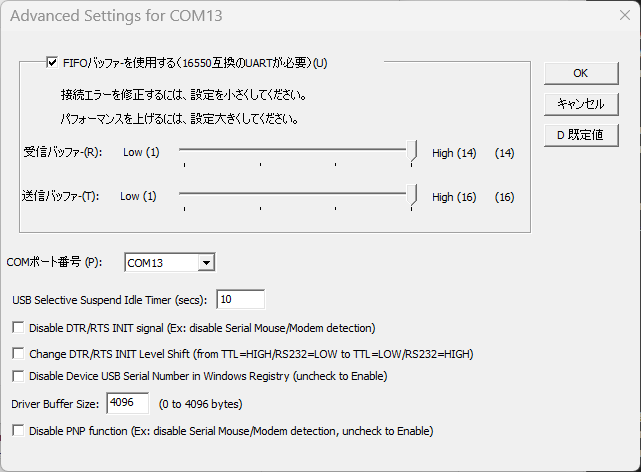
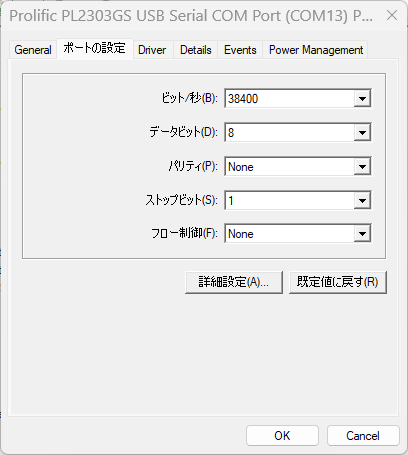
Here you can also change the Baud Rate, which is very important if you have an old reader like this. Most Aime Readers require 38400 as the baud rate, but some newer readers (usually the ones with a VFD) support the high baud rate of 115200. Once those are set, you can change your game loader to stop emulating aime input. If you've made it to this point, congratulations! Your reader should work on older Nu titles with no issue. However, most people don't want to play games from 8 years ago, so what are the extra steps in getting this to work with games that use amdaemon?
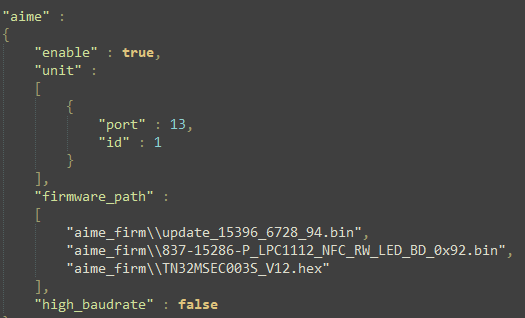
This screenshot was taken in config_common.json. When amdaemon launches, it takes this config and many others to determine what hardware it needs to interface with,
and other settings that the physical arcade machine needs to run properly. This is my setup for my reader; I have the COM port set to 13, the id set to 1 (don't change this), and
high_baudrate set to false. I left the firmware files as is, since it includes TN32MSEC003S_V12.hex and there's no harm done by leaving the
others there. I've had better luck with amdaemon games when it comes to the reliability of the reader and some things such as the LED colors even functioned properly in game.
This might seem like a useless project to some people, but truthfully, the small things like this add so much authenticity to games that use the aime card system. Seeing just one more LED flash when the game boots makes it all worthwhile, doesn't it?